Usually you use eagle to design your printed circuit boards (PCBs) only in 2 dimensions (when not considering the layers as 3rd layer). This gives you some headaches for narrow space designs like in small cases.
The common solution until now is to export your board with eagleUp and assemble it with a case in Sketchup. This also gives you some drawbacks. The most important to me was that the Sketchup files are mesh based like the data used for 3D printing usually, but for further use in CAD systems this is not really usable. You also will not be able to get a STEP model that you can give to your costumers out of this data.
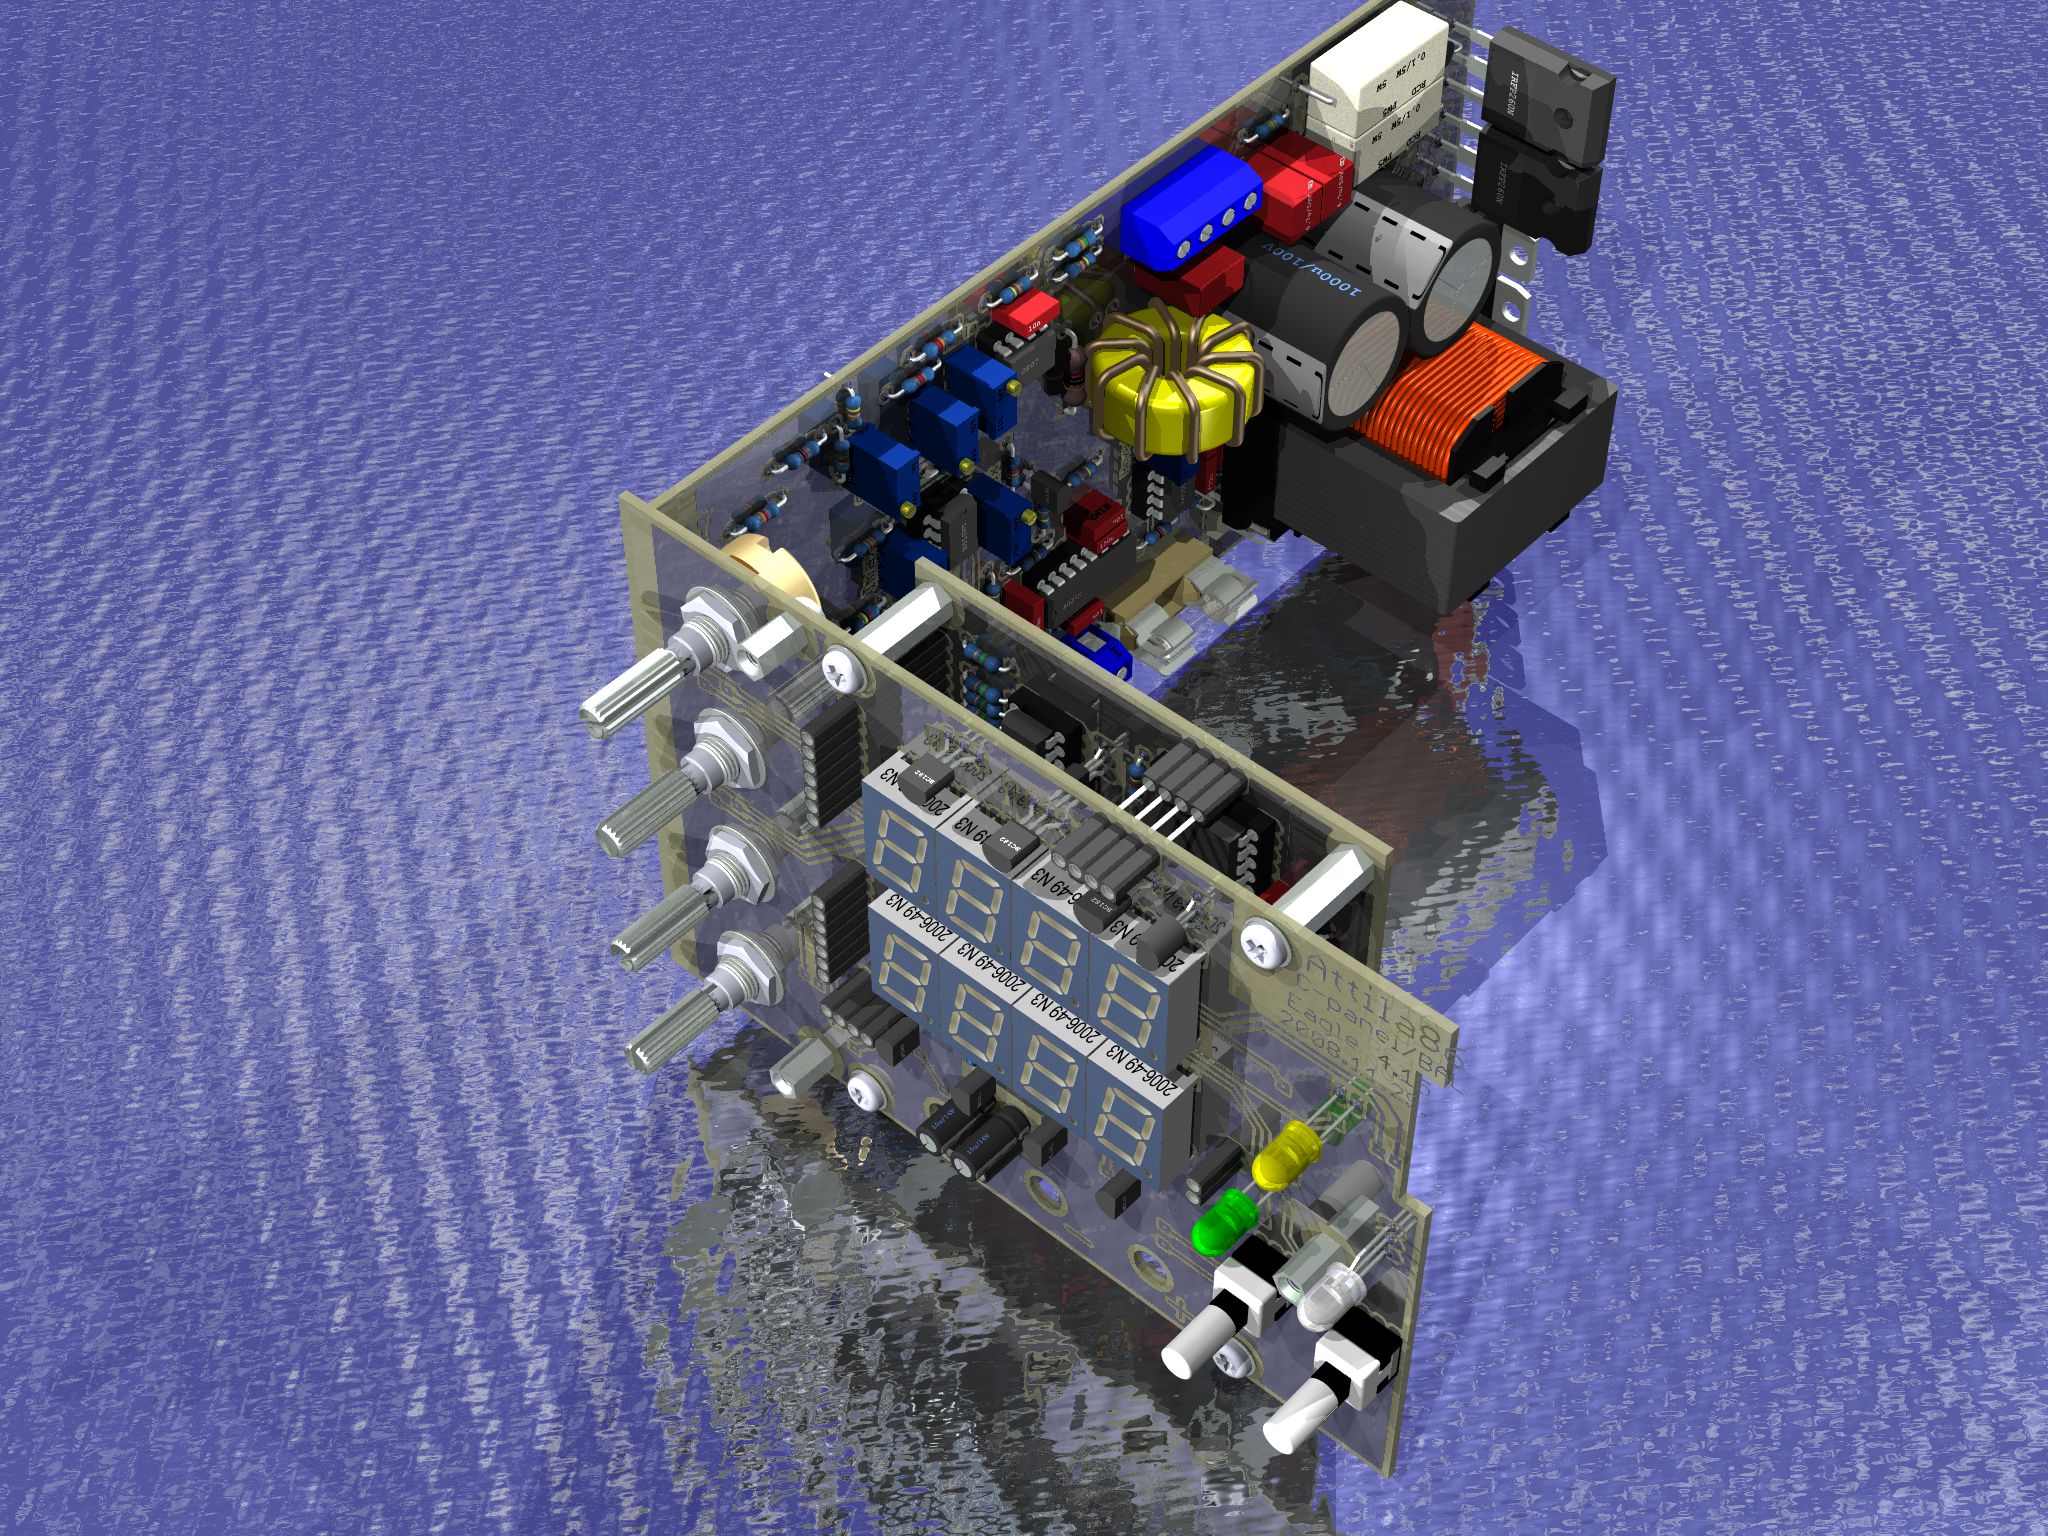
Another solution is to use eagle3D, which gives you photorealistic renders of your boards. This images (or even videos) are really good for marketing brochures, but this way makes it impossible for you to play with your 3D models to estimate how much space is left in your case.
The solution I found was to write a macro for FreeCAD that interprets the XML Data that Eagle 6 uses to save your board (the .brd file). This means that my script reads the outline of the pcb and extrudes it with the thickness you specified in eagle. The XML file also contains the names of your parts, which you can map to 3D CAD Models (STEP Models) of them. The last step is to assemble the parts and the board. For more information on how to use it see my github repository.
The only drawback of the freecad solution is that somehow the colors of STEP models get lost – at this time I expect it to be a freecad problem that might be fixed in the future.
Adafruit publishes a wide range of writing and video content, including interviews and reporting on the maker market and the wider technology world. Our standards page is intended as a guide to best practices that Adafruit uses, as well as an outline of the ethical standards Adafruit aspires to. While Adafruit is not an independent journalistic institution, Adafruit strives to be a fair, informative, and positive voice within the community – check it out here: adafruit.com/editorialstandards
Stop breadboarding and soldering – start making immediately! Adafruit’s Circuit Playground is jam-packed with LEDs, sensors, buttons, alligator clip pads and more. Build projects with Circuit Playground in a few minutes with the drag-and-drop MakeCode programming site, learn computer science using the CS Discoveries class on code.org, jump into CircuitPython to learn Python and hardware together, TinyGO, or even use the Arduino IDE. Circuit Playground Express is the newest and best Circuit Playground board, with support for CircuitPython, MakeCode, and Arduino. It has a powerful processor, 10 NeoPixels, mini speaker, InfraRed receive and transmit, two buttons, a switch, 14 alligator clip pads, and lots of sensors: capacitive touch, IR proximity, temperature, light, motion and sound. A whole wide world of electronics and coding is waiting for you, and it fits in the palm of your hand.
Have an amazing project to share? The Electronics Show and Tell is every Wednesday at 7pm ET! To join, head over to YouTube and check out the show’s live chat – we’ll post the link there.


